Return to TheImploder.com Return to fractalfield.com/implodermagneticresearch
| Lab Testing | User Testing - Plants | User Testing Water for Health, | Independant Testing |
|---|


Additional Installation Notes:
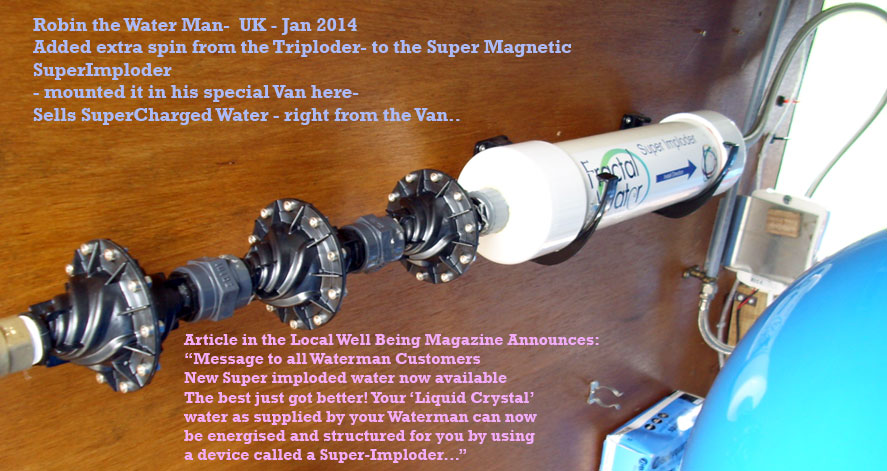
Install carefully - anywhere in your plumbing, remember the Black Vortex nozzle- is the water INPUT end (the molecules spin when entering the super flux magnetic)- the white magnetic tube end is the discharge side. The Imploder Magnetizer uses 3/4" high grade CPVC for strength and heat resistance. The fittings are CPVC standard 3/4" pipe fittings (note if you are attaching a garden hose- get the simple adapter for hose to pipe 3/4").
The magnetic housing (the white part) is heavy at nearly 13 lbs, please support the magnetic housing with 3" pipe hangers. This ensures that excess stress is not applied between the Imploder Vortex Nozzle and the Magnetic Array.
Once supported. Now attached to your plumbing using standard 3/4" plumbing pipe fittings.
More application advice for with the SuperImploder - see > theimploder.com/resources/downloads
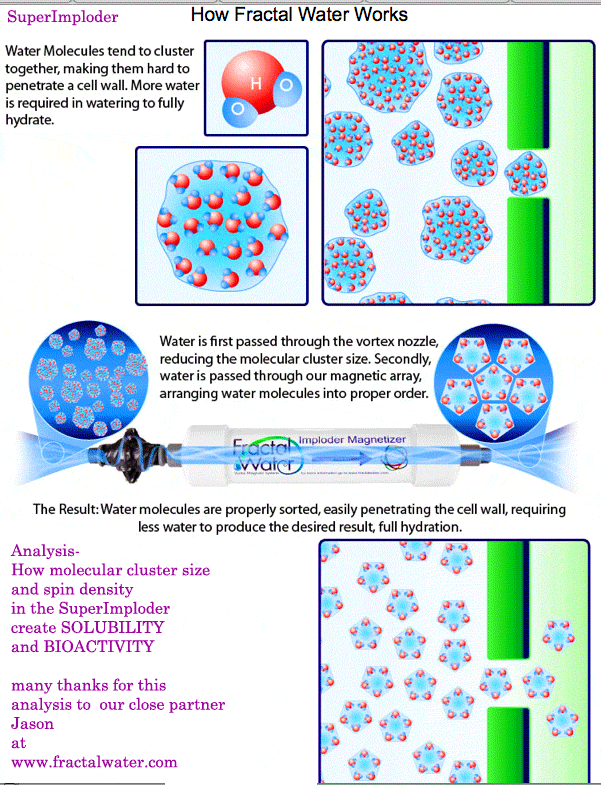
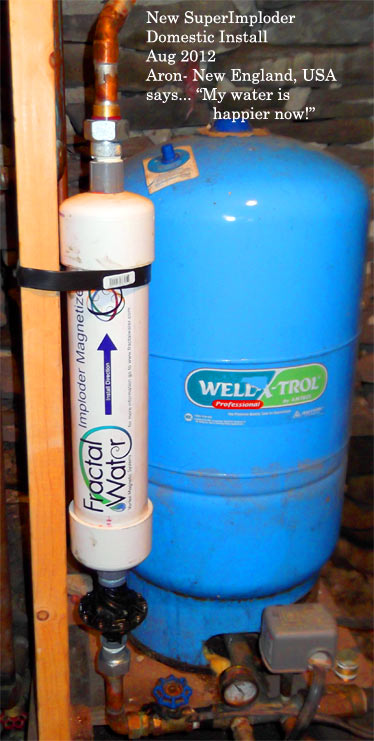
Domestic installations consistently report feeling silkier water, feeling MUCH energized drinking it.. WETTER WATER..
plus all the well documented benefits from reduce pipe sedimentation and more (below)..
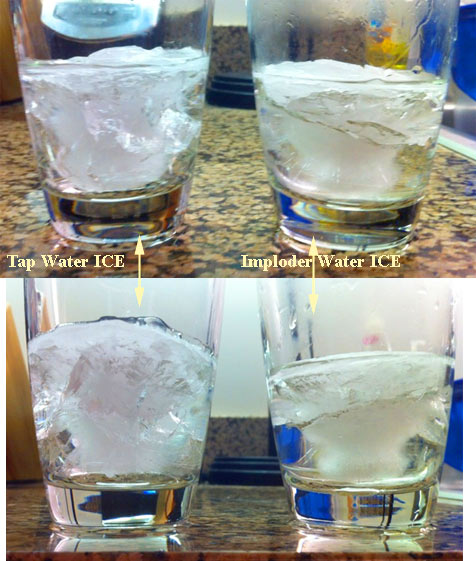
Report from Neal- re: Health use of Imploder Water for People: "I (Neal) also froze two cups if water to see if the water looks different and the imploded ice had fewer cracks, less lines, and was noticeably clearer
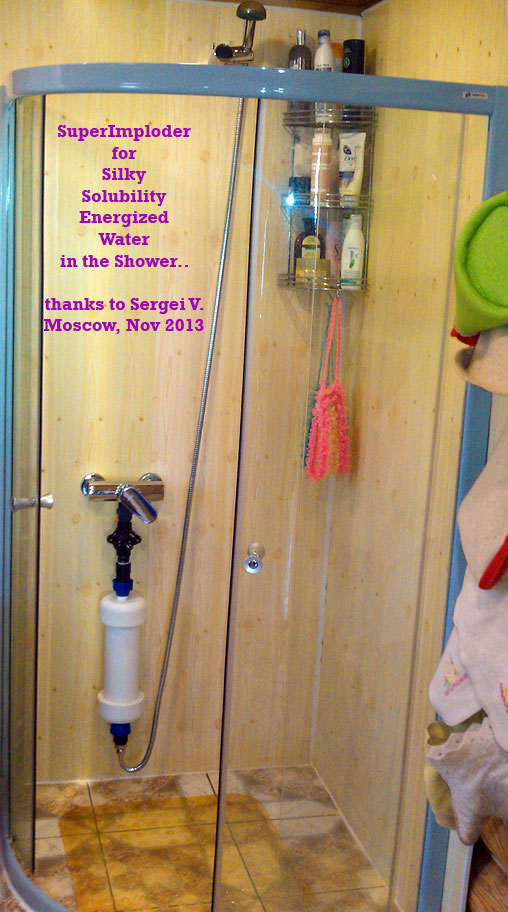
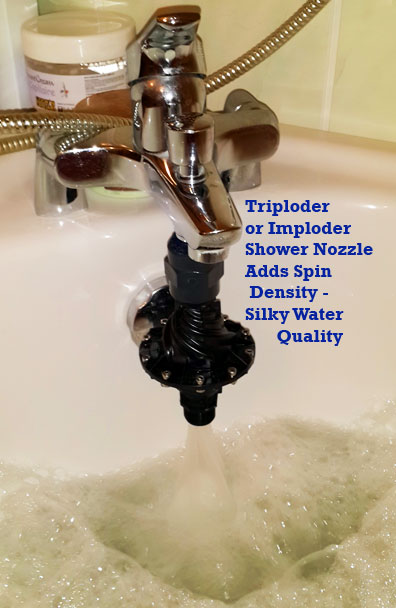
Bath: In the bath the water has a "silky" feel to it very similar to how conditioned "soft water" feels. Soap, shampoos and hair conditioners are more effective and skin is noticeably softer. The imploded water also does not bead up on the skin like tap water and appears to be absorbed more efficiently by the skin.
Drinking : The smell of chlorine is removed and tastes much better. It's almost as if your body is saying"Yep... That's the stuff I like". Tea and coffee Taste much much better. The flavor of the tea comes through the water and you can even taste the individual favors if each type of leaf but the coffee is what really blew me away. The coffee tastes much smoother and much less acidic. Honestly I would recommend that someone purchase an imploder if it was only for this one reason ......tasting The worlds best coffee.
Another thing that I do not know how to document but thought it is definitely worth mentioning is that after drinking the imploder Water the first night, I felt like I had much more energy and I woke up much earlier than normal because I had so much energy. Even with less sleep I felt more awake and clear headed the next day. Just looking at the difference in the two plants really makes me wonder what a huge beneficial difference it would have on humans.
We also live very close to Napa and Amador which are both known for wine and grapes. My fiancé is close friends with _______ vineyards and I think that they would greatly benefit from using imploder water on the wine grape crops. I would be very interested in getting involved with selling your imploder as there are large potential markets for it plus I think selling the Imploder would earn me some good karma points :) Do you have anything in the pipeline (sorry I couldn't resist the pun) for agriculture or other markets? Respectfully, Neal W. (end quote)
==
An example install using external pump (normally not necessary- except when you wish to isolate the Imploder from House Water):
Mark - who coordinates our UK Superimploder Project: www.superimploder.co.uk However this kind of install WITH external pump- gives the flexibility to push water thru the Imploder and Nozzle- without normal house water pressure:
Mark writes: Finally got a chance to hook my super imploder, fractal, phase conjugate, imploding, water structuring device up! For those of you who want to know what this water can do to: plants, your body, business, and environment - www.superimploder.co.uk You can make this installation as simple as you like. For those that are only interested in drinking water; a small plastic food grade pump with some plastic hoses will do; with the imploder strapped to the side of the bucket; and the pump plugged straight into the wall socket. Start from the bottom of the installation: Pump: Brand: Clarke, 350 watt; 230 volt a/c; rated 30 meters head. Head is another unit in which we measure pressure - 30 meters head is around 20 bar. Most of the time that will usually be with almost no flow running through the pump - go figure...Also, avoid stainless steel pump heads... 25 liter food grade plastic bucket with plastic food grade tap. 22mm copper pipe all round except for a short bit of 1 inch on the outlet port of the pump. Remember the water flows through the nozzle first. The pump head is brass. Not just any brass but rated for use with drinking or potable water. It must be non leaching brass for drinking water. I got mine from machine mart for £100. Search e bay for the small food grade plastic pump - you would leave that over night to a 25L bucket of water; whereas the above pump would implode the water 30 times in 15 minutes. The inlet & outlets are 1 inch female threaded. Be sure to know whether the thread is imperial or metric. If quoted in millimeters the thread will be metric, inches in imperial. A metric thread is usually finer and closer together than an imperial thread. Lets begin at the pump; on the horizontal pipe which is the inlet: We have a 1 inch brass male to 22mm compression reducer (1 fitting). Copper pipe then soldered to a 22mm T-Piece; with 15mm drain cock screwed into the side; both tilting progressively more downward to facilitate drainage when cleaning the pipes out. This is the only solder joint in the installation as solder contains lead as far as I know.... We then have two 45 degree bends up toward the bucket; as a purist I tried to avoid any right angle bends as this effects the structure of the water - but when being continuously imploded the imploder negates this to a huge extent. The pipe is then supported by a 22mm plastic pipe clip. We then have a 22mm compression joiner/coupler to join the next piece of pipe; which then goes into a white plastic 22mm T-piece. The white, plastic 22mm compression T-piece and hose pipe branch (piece with green plastic fitting) is the same on both sides so i'll describe one: Then plastic T-Piece ( I got two of these for free so used them but would have liked to have kept the whole installation brass and copper.) Out of the side of that is a valve and hose pipe connector branch which does your water but/rain water storage tank for watering plants/bath/pool etc.... Out of the side of the plastic t-piece we have 22mm copper pipe joining to 22mm compression in line service valve that turns off with a large screw driver - one with handles is better but is not tamper proof. Another small piece of 22mm copper pipe out of the other side; then into a 22mm compression to 15mm male threaded reducer - which you can screw your hose pipe adapter to. I fix 13mm hydroponics pipe or hose pipe to the end with a jubilee clip to ensure no mess. Out of the tope of the plastic adapter we have another piece of copper pipe running into another 22mm compression in line service valve. The four valves I used with all zinc plated brass but rated for drinking water. Try to stick to brass fittings and copper fittings only. Be sure for ask for full bore valves, because although the valves are 22mm the inside may be as small as 15mm!! The two hose pipe branches are supported with wood and a 22mm plastic pipe clip. The pipe out of the top of that valve is bent into 180 degrees to avoid a right angle bend, and finishes 1 inch from the bottom of the bucket. Starting at the outlet, moving up: One inch male to 1 inch compression; copper pipe out of that into 1 inch compression to 28mm/1 inch female fitting; out of that into 1 inch male to 22mm female reducer which then connects straight onto the imploder nozzle. I could have used a 1 inch male to 22mm female adaptor - that would have been easier, but I was learning as I progressed. I did the whole thing on my own, but it would be advisable to get another to braise/ hold the fittings while you are screwing the compression rings on etc. Don't grab the plastic on the imploder and nozzle hard - you will damage it or even break it. The trick is to use ten turns of PTFE plumbers tape on every screw thread ;-) That way it will bunch up before you screw on to the imploder at either end, and you KNOW you that thing is NOT going to leak - its soul detroying to have to remove a fitting and redo it... Don't over tighten the compression nuts. Start with 1/4 turn for 22mm copper pipe. If it leaks you can always tighten up a 1/4 turn at a time. If you over tighten the brass ring (olive) around the pipe will crimp the copper pipe or split.... I fitted the assembly onto the imploder and nozzle first, then dropped down the whole imploder and nozzle down the two 110mm holes I cut out for it, right into the pump inlet with the 1 inch compression fitting premounted to the pump - and the pump fixed in place. The holes should be cut out a bit smaller if you dont have a 110mm circular hole cutter, and then filed/rasped bigger for a snug fit. Those two holes together with the clamp you see holding the imploder toward middle; stop it from moving around and cracking the zozzle! I have bumped it, moved it and abused it, and my nozzle did not crack! Be careful the nozzle is hard but BRITTLE! We then come out at the other end of the imploder with a 22mm female to 22mm compression fitting. The copper pipe comes out of that; which I have bent 180 dgrees to avoid a right angle bend - takes some skill just go for the right angle 22mm compression bend if unsure. The pipe finishes a couple of inches through the lid of the bucket. I sharpened a spare piece of pipe; heated it with a torch, then melted the holes out for a snug fit. Same method for fitting tap to bucket. Make sure the piece of wood that holds the bucket can slide out so as to be able to drop the bucket down and clean it without disturbing the pipe work. The plastic T-piece on the suction line also serves as a place to pour water down the pipe to prime the pump (fill it with water) when you first trun it on as you can't run it dry! So, lets begin with all valves open except the one on the hose pipe branch on the bucket fill pipe (the pipe rising vertically up from the pump). Pour water down the T-piece on the bucket outlet or suction line (the pipe running horizontally out of the pump) untill it is full. Prop it up or get someone to hold it for you. Open the priming nut on the pump (it will stand out you will see it - dont over tighten when you close it as you will damage the o-ring rubber seal) to let the air out until nothing but water comes through... Shut the priming nut on the pump, then the valve on the hose pipe branch of the suction-side pipe. Water can not flow out of the sides of the plastic T-pieces now and you are ready to turn the pump on. Remember the pipes still have a little air in them, so looking into the bucket when you turn the pump on, you may not see water coming into the bucket for the first few seconds, but my pump sucks the initial water through it and then some air behind (if you think about it), then the water comes squirting out and the cycle has begun. Don't hold your finger near the suction pipe while the pump is on ! Now check for leaks. Store your system in a cool place below 20 degrees Celsius! But avoid freezing! Water expands when it freezes and can sometimes crack its container.... The imploder works great with most pumps like this because you can actually fit a gate valve on the output of most shower pumps and domestic booster pumps like this to slow the flow rate down, but seeing that the nozzle of the imploder restricts down to a quarter inch or just a bit bigger, this pressurizes the system nicely, and you get around 0.5 to 0.75 liters per minute of flow. That means you can implode a 25 liter bucket of water 30 times in 15 minutes. Remeber: if you are using a household plug in timer to run the pump, ask an electrician to connect it to a contactor as most of those household plug in timer can only handle a 300 watt inductive (something with a coil in it like a motor for a pump!) load. Contact me if you want diagrams... I run my pump for 15 minutes then rest it for 15 minutes, then run for 15 minutes to implode a 25 liter bucket of water 60 times... Now, for optimum usage of the imploder, we shut the two valves leading to the bucket, connect hoses to the hose pipe branches sticking out at right angles, open the two hose pipe branch vlaves, pour water down both the pipes (keep them as short as possible - hers where its handy to have mounted your table/frame on wheels to move out into your garden, or simply lif onto trolly) - remember you don't want your pump sucking loads of air it tends to over-heat! Remeber the suction line and inlet line on opposite sides of your bath/container/barrel//pond pool etc.; or suction line at the bottom and inlet at the top... When done, dump the suction pipe into a bucket of clean water/tap water with a tiny bit of bicarbonate of soda or coloidal silver; clean water is sucked through the system and exhausted onto the earth or back into your water storage tank/bath etc from the inlet pipe and the system is cleaned in a matter of minutes! Don't let the bucket run dry :-) turn off the pump just before and shut both valves and open the other two that were closed. If you feel it is necessary, repeat the process with your drinking water bucket, and the pipe work that was previously shut off. Slide the bucket base out and lower your bucket to remove the lid, then replce the bucket but only with the suction line in it Note: this is the advantage of using the plastic T-piece, the pipe will still swivel while connected to it. If your pipe can't swivel be sure to take into account that you may need to slide your bucket into position with only the suction line in it, so you can suck clean water into the pipe work to flush it and let it exhaust outside of the bucket or to waste as they say in plumbing... Periodically you may like to open the 15mm drain cock at the bottom to drain the pipe work or inspect it to see if you getting sedimentation collecting at the lowest point of the pipe work. Dope your water with minerals and ormus for best results, but only add the ormus after imploding it so as not to expose it to the magnetic field of the pump! Store your implode water in glass, clay, lead free ceramic, and if you have to, food grade plastic. Hope this helps, any questions, fire away. Seek professional help if doubtful. Bliss MArk |
Update Oct 28, 2011: David B - from QLD, Australia -- writes today: "Dan, Just a quick note to let you know the parcel of miracles arrived ok today thanks. We are on rain tank water and I am a pump man so I was able to hook up a temporary set up this afternoon. I installed the super imploder and filled up a water vessel and jugs to get a swig of the nectar of the gods and got a surprise, the jet of water was very intriguing and will experiment further as day light was nearly out, tastes great. I installed the shower head and had a shower which was great, I had it turned up a fair bit and the pulsing action and sensation was quite invigorating. I had about 800mls of the imploder water to drink and now an hour later I am buzzing my ass off inside and out...amazing stuff. I will really have fun with this.......thanks again. We also seem to have quite a lot of synergy happening which will reveal itself as life goes along I’m sure." end quote.
==